Installation
A proper installation by our CFI certified team is your best defense against costly future issues like mold, wood rot, and plank separation. We stand behind our work and take all the necessary steps to ensure a lifetime of support for you and your family. Furthermore, we will promptly work with you to address and resolve any installation-related problems that may arise.
Why Professional Prep Matters
Skipping critical preparation steps is the number one cause of flooring failure. Avoid the extra cost and headache of future repairs by having our CFI-certified professionals do it right the first time.
- Prevents Mold: Improper prep can trap moisture beneath your floor, leading to dangerous mold growth that can spread to your walls and affect air quality.
- Stops Wood Rot: Failing to identify and mitigate moisture issues can cause wood subfloors or framing to rot, leading to major structural damage.
- Eliminates Plank Separation: An uneven subfloor or improper installation can cause planks to pull apart, creating unsightly and unsafe gaps in your beautiful new floor.
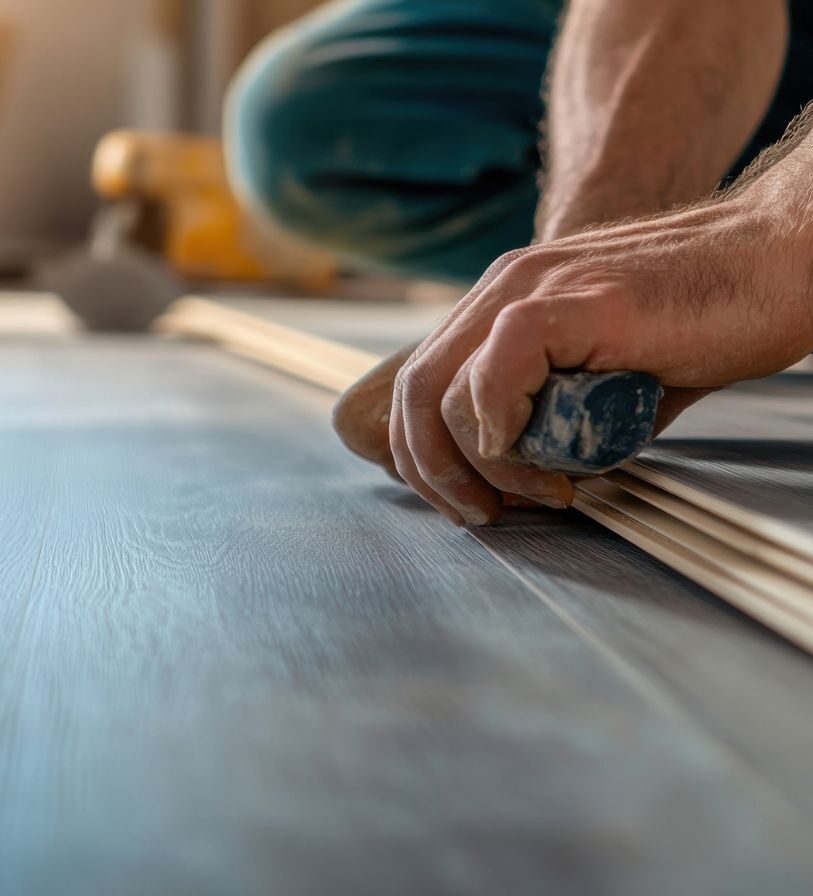
Our Comprehensive Installation Process
- Moisture Testing: We begin by conducting certified ASTM F1869 moisture tests on all concrete subfloors to ensure the foundation is suitable for a new installation.
- Asbestos Testing: For the safety of your home and family, properties built before 1985 must be tested for asbestos. If present, a certified abatement company must remove the affected materials before we proceed.
- Removal & Disposal: Our crew handles the complete removal and disposal of your old flooring, stripping the area down to the subfloor.
- Moisture Mitigation: If testing reveals excess moisture, we can apply a professional-grade epoxy mitigation system. This seals the subfloor and prevents long-term moisture damage from below.
- Subfloor Preparation: A perfectly flat floor is crucial. We prepare the concrete by grinding down high spots and filling in low spots with a patching compound.
- Priming: We apply a primer to the prepared subfloor. This critical step ensures the leveling compound forms a powerful, permanent bond with the concrete, preventing it from crumbling over time.
- Leveling: A self-leveling compound is poured to create a perfectly smooth, flat, and solid foundation for your new flooring.
- Underlayment: The proper underlayment is installed to serve as a moisture barrier or to meet sound-dampening requirements for condos and multi-level homes.
- Installation: Our certified professionals install your flooring planks according to the manufacturer’s exact recommendations, ensuring a flawless finish and validating your product warranty.
- Transitions & Finishes: We professionally install all transition pieces and trim. These finishes cover the necessary expansion gaps that allow your floor to expand and contract naturally with temperature changes, preventing buckling and damage.